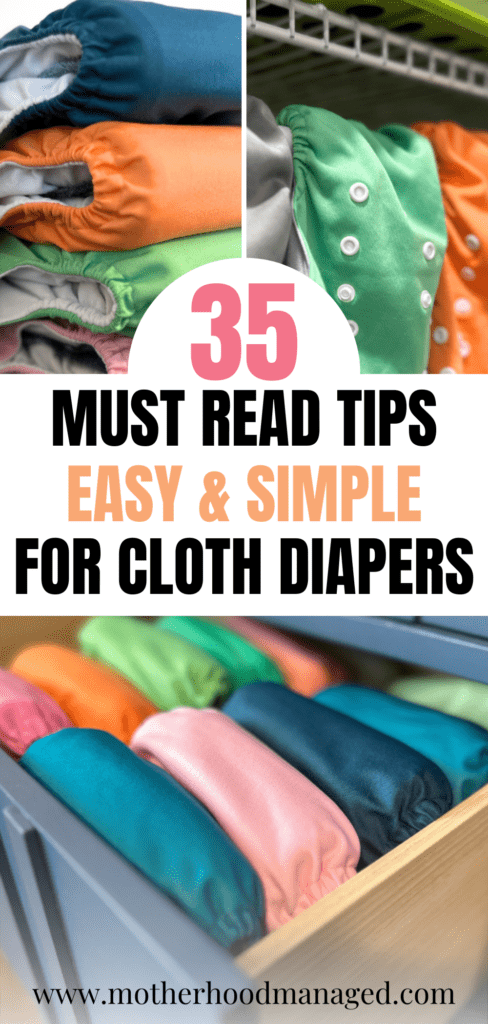
This post is all about the very best cloth diapering tips and tricks so you’ll actually use your cloth diapers consistently!
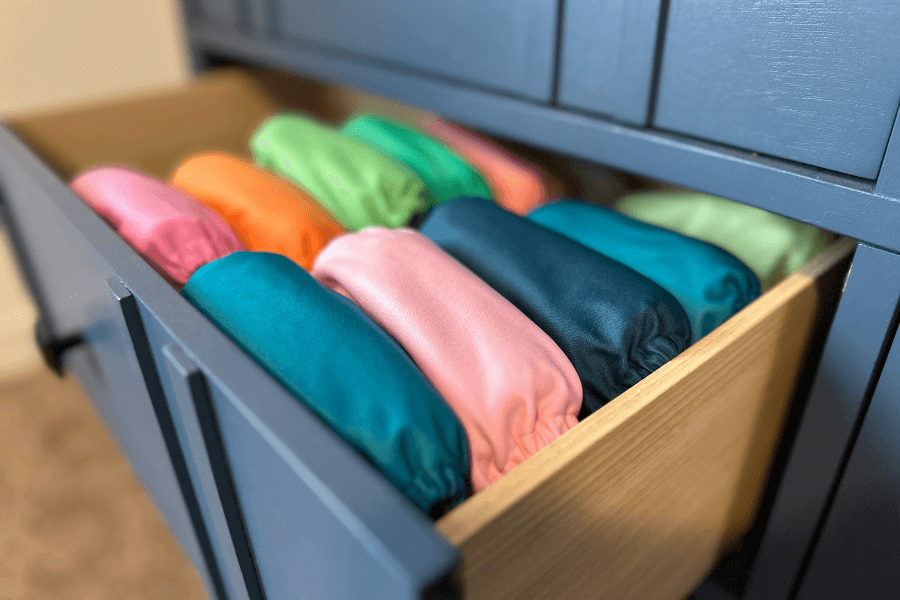
Many people are interested in cloth diapers – to save money, to help save the planet, etc. There is a common misconception that cloth diapers are a lot of hard stinky work with a big learning curve.
I’ve found that, after 2 years of cloth diapering, it is WAY easier than I ever thought it would be and now we never want to go back! We (me AND my husband) both prefer them to disposable diapers – they stink LESS (yes, I said less), they save us so much money, and they look so dang cute on our toddler.
I have even had friends who found potty training their cloth diaper kids easier because they help the child to actually feel when they are wet or dirty. I’ve found this to be true, my 2 year old accurately tells us when she is wet or has pooped, and has been for quite a while.
This post may contain affiliate links, which means I’ll receive a small commission if you purchase through my link, at no extra cost to you. As an Amazon Associate, I earn from qualifying purchases.
So here are all my best cloth diaper hacks after spending a long time doing TONS of research before my daughter was born, and then using cloth diapers 95% of the time for the last two years:
Best Cloth Diapering Tips for Washing
1 – Don’t ever use fabric softener.
I know it might seem like you want to make these cloth diapers softer since they will be up against your precious little one’s sensitive skin but using liquid fabric softener can significantly decrease how absorbant they are.
I promise the fabrics are made plenty soft on their own without this! (and leaks are the worst.) I have found wool dryer balls to be a nice way to keep the static to a minimum and to help my inserts dry more quickly.
2 – Also don’t use dryer sheets or scent beads.
Along the same lines as fabric softeners, we want to avoid dryer sheets and scent beads. They create a film on the surface of fabrics. Instead, try wool dryer balls. And don’t worry about making your diapers scented either – they’re just going to get peed and pooped in. They should smell clean when you’re done washing them, but they don’t need to smell fancy.
3 – Get down your wash routine and then don’t deviate from it.
Building off of the last tip, the wash routine is the crux of the whole cloth diapering routine! This is also why I choose to do disposables when we travel, even if we have access to a washing machine.
The size of the washer, the detergent you use, and the hardness of the water ALL make a difference in your routine. Once you have it figured out, just stick to it and then cloth diapering becomes so easy!
4 – Get your water hardness level tested at a local pet/fish store for free OR with tests from Amazon.
This will really determine your wash routine and amount of detergent. We have exceptionally hard water where we live, and it meant I had to make adjustments to my wash routine for this to keep working.
(Pro tip – get a water sample from the tap closest to your washing machine OR from the washing machine itself. Your home can actually have different hardness levels on different levels/different taps).
5 – Not all detergents are made equal!
You need a detergent with surfactants in it to breakdown the human waste. A lot of green detergents do have these so do your research! I personally stick to regular POWDERED tide (has more water softener in the formula which works awesome for my extra hard water).
6 – Air around your diapers = less stink and easier cleaning.
I personally keep a small laundry basket for dirty diapers on top of our dryer in our laundry closet. This allows my cloth diapers to have air circulating around them and to dry out between wash days.
I keep a little air freshener in there to offset any extra stinky diapers but this stinks a LOT less and they are easier to get clean than when I was storing them in closed hanging wet bags.
7 – A regular laundry basket works great for storing dirty cloth diapers between wash days – no need to spend money on a fancy diaper pail! (maybe work this one out)
8 – If you’re exclusively breastfeeding, don’t bother rinsing or using a liner.
Just throw those suckers straight in the laundry – their waste is completely water soluble if you’re exclusively breastfeeding/baby is only eating breastmilk. (this is NOT true for babies who have ANY solids or formula).
9 – Keep your washing process and routine very consistent.
Once you’re in the habit, it really isn’t that hard or time consuming! Don’t wash them after 1 day one time and then after 4-5 days the next. Follow this link to a worksheet that will help you work out how much is the right amount of soiled diapers for your washer.
It’s like Goldilocks – you want it to be in that “just right” amount of volume and weight. Too little or too much, they won’t agitate well and won’t get as clean. It’ll also help you to determine what cycles to use, what level and how much hot water, and how much detergent.
Best Cloth Diapering Tips for Drying
10 – The sun is your absolute best stain remover.
I’ve had hardly ANY stains in 2 years surprisingly, and it really doesn’t matter if they are stained if they are completely clean since they just get pooped/peed on.
BUT if you are like me and like there to be no stains, just get them damp with plain water and place them in the sun for 15-20 minutes (PS This works amazingly well for that high chair tray that is tomato stained too! Nothing works better or easier than this trick!)
11 – Avoid drying your diapers in the dryer.
I usually dry my liners but NOT my pocket diaper shells to avoid heating up the plastic lining. This plastic lining is basically what makes your diapers water proof. High heat and cause fractures and breaks so definitely avoid drying them in the dryer if you can.
If you MUST dry them in the dryer, keep it on a low setting and make sure you let them FULLY cool in the dryer before pulling them out. This will greatly extend the life of your cloth diapers.
12- Line dry your diapers when you can.
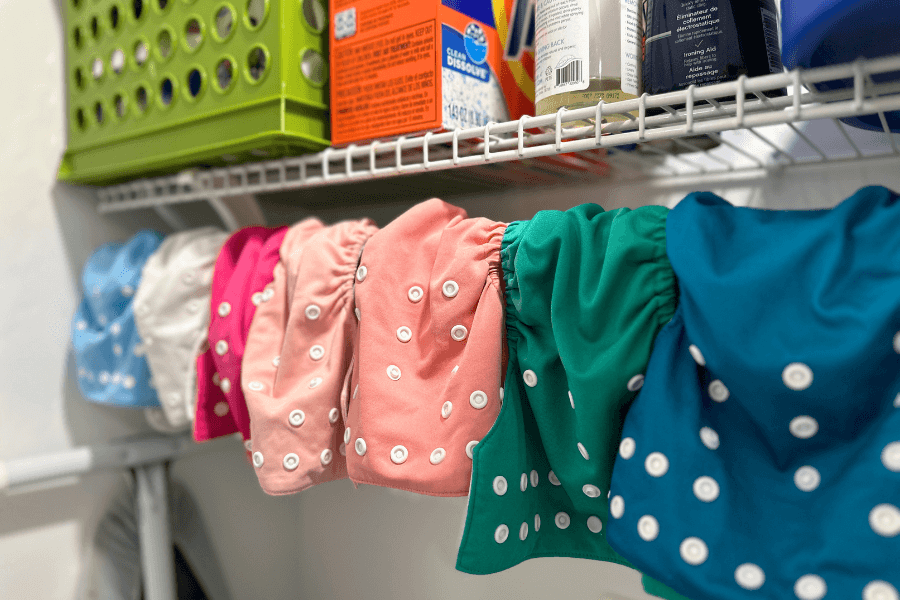
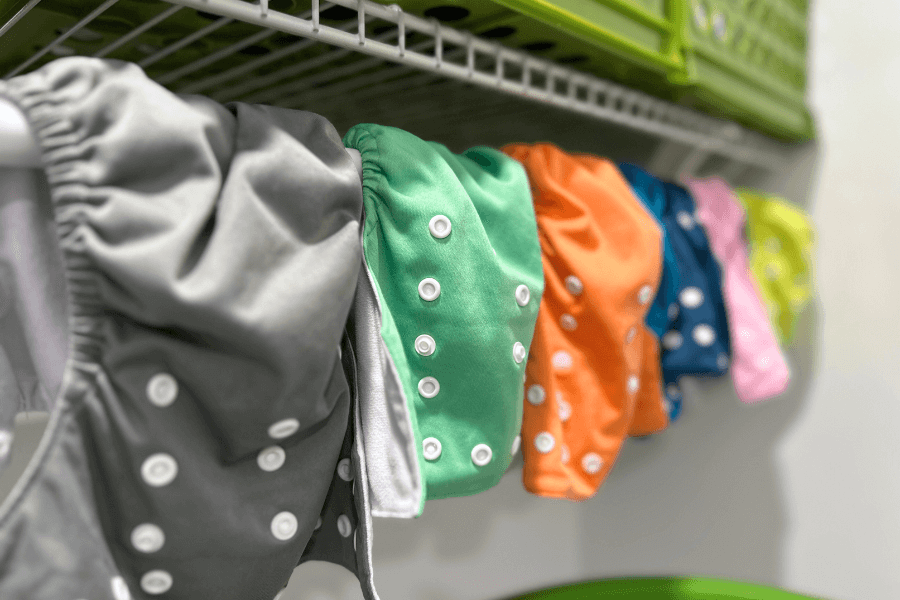
I don’t have the patience to wait for my liners to line dry but I DO hang up my diapers across the rod in my laundry closet. It would be even better if I did them lengthwise instead of how they’re shown in the picture above, but my pocket diaper shells are really light so I haven’t noticed much extra wear and tear on them line drying them this way.
The all-in-ones (AIOs) are much heavier and I would highly recommend putting them lengthwise so it doesn’t pull on the elastic
Best Cloth Diapering Tips for Inserts & Liners
13 – Use your inserts for LOTS of things.
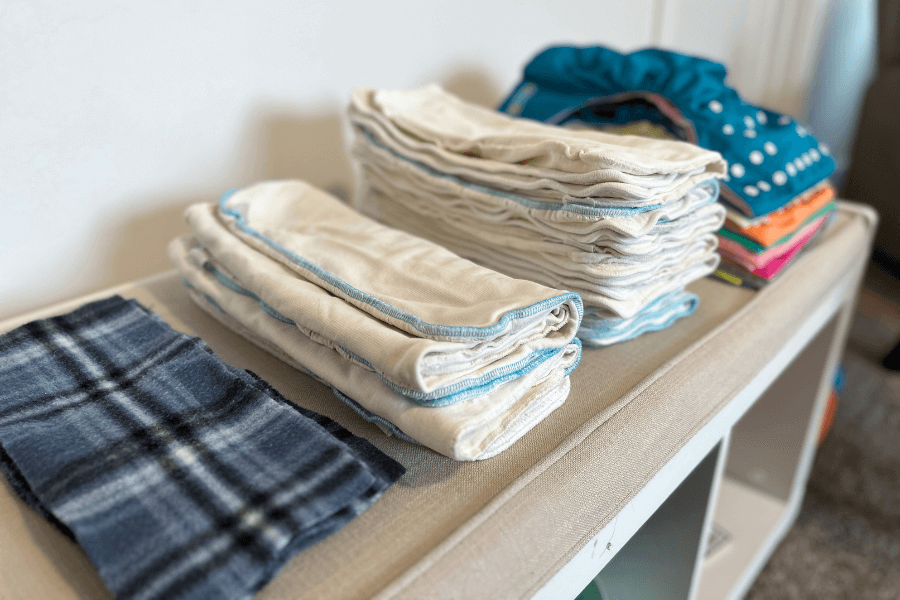
Obviously, your inserts for your diapers are very useful for their main purpose, but if you have a liner that you don’t particularly love (see tip #21 & #22) or one that is getting worn out, they make for awesome cleaning rags, dusting rags, I’ve even used some as a quick DIY face wipe for myself!
14 – Utilize different types of material to improve absorbency amounts AND speed.
I have stuck to just one type of cloth diaper shell but I have slowly added to my collection of liners. That’s because different kinds of fibers have different levels of absorbency and how quickly they can soak up liquids! Some are fast, but hold less while others can hold more, but may take longer to absorb.
You can mix and match these inside your pocket diaper to meet your child’s needs! If they are a fast super soaker who pees a lot all at once, a quicker absorbing insert will work better for you.
For overnight diapers, I like using one layer that is quicker absorbing and then layering those inserts that hold more to prevent overnight leaks. Going for a longer car ride? Throw an extra insert into the pocket diaper for extra absorbency. This is why I LOVE pocket diapers – I’ve been able to customize them completely to my daughter’s needs as she has grown.
15 – Stick to natural materials and fibers for your inserts!
Skip microfiber inserts altogether – they are the worst for causing leaks anytime they are compressed, aka any time your baby sits on them. Check your labels carefully when you’re purchasing inserts as well – some companies sneak some layers of microfiber into them because it’s inexpensive.
16 – Utilize disposable LINERS – these liners are LIFE SAVERS!
Basically, this is something you lay inside of your babies diaper and liquids go through it but solids don’t! This means you don’t have to rinse that diaper, just throw out the liner with the waste and then wash the diaper.
I started using a disposable liner once my daughter started solids around 6-7 months old. I’ve purchased THESE on amazon – they’re a good choice but they did bunch up sometimes. I used Viva paper towels (yes for real) for a while and I liked those better but they still weren’t economical or the most green choice. Plus I had to throw them away every diaper change.
Finally, I purchased and inexpensive fleece blanket from Walmart for 3 dollars and cut it into the right size for my daughters diaper. Now I can easily wash them if they are wet, and I can usually just plop the poop right in the toilet and wash them after a poopy diaper as well! If it’s a more challenging poopy diaper to get clean, I just throw out the liner. This only happens like 1-2 times per week so my 3 dollar blanket hack has lasted me months!
Best Cloth Diapering Tips for Leaks & Fit
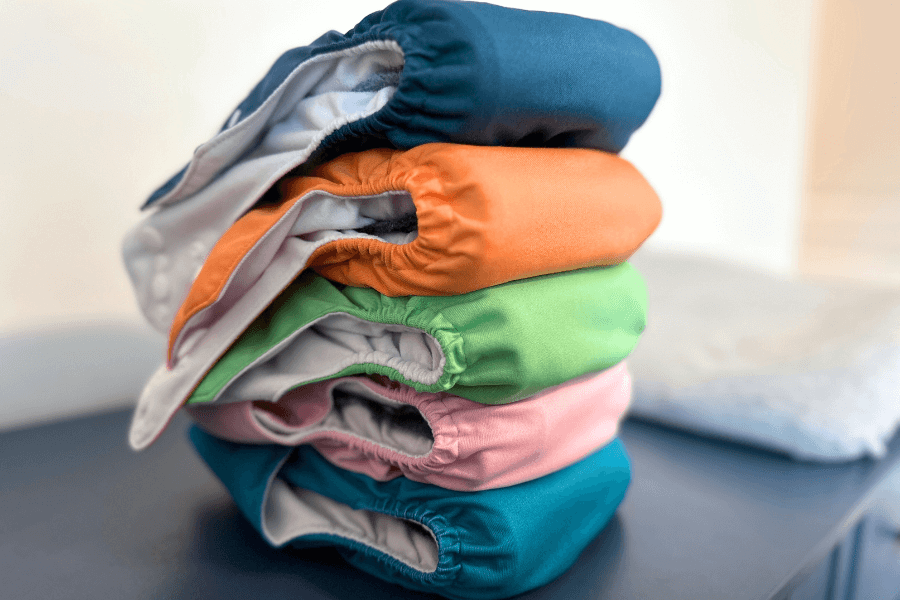
18 – If you’re getting leaks, check your fit first.
Babies seem to go through growth spurts overnight! Once I had a solid wash routine, if I started getting leaks, it was because it was time to refit our pocket diapers.
19 – If your fit is good, do a swish test to see if your diapers have buildup.
If your wash routine isn’t quite right, you can get buildup – of either too much detergent, or your diapers not getting all the way clean. This can cause leaks AND rashes. Do a swish test (instructions here) to see if you have any buildup.
We struggled with a barnyard smell as soon as they go the slightest bit wet for a short while once. (This is also when we got the one bad diaper rash) I needed to update my wash routine and that fixed the problem!
20 – Be careful of what diaper cream you use.
Much like softeners and dryer sheets, a lot of diaper creams can cause a film that is really hard to get off cloth diapers and could cause leaks. Instead, use a cloth diaper safe diaper cream (this one is my favorite), or use a good liner.
My daughter has only had a bad diaper rash once, and I just switched to disposables for a few days so I could use the prescription that our pediatrician gave us without worrying about the cloth diapers.
Best Cloth Diapering Tips for The Right Fit
21 – Understand there is a difference between newborn and regular cloth diaper sizes
This is why we opted just to use disposable diapers for the newborn stage. Most of the cloth diaper shells you see will start fitting a baby around the time they are about 12 pounds (for us it was between 8-10 weeks old).
So you can either buy a different stash for the newborn phase, or use disposable for this short time. It made sense for us while I was healing, we were adjusting to being new parents, etc.
22 – Finding pants that fit can be a little bit tricky with cloth diapers.
They certainly fill out those skinny jeans faster than regular diapers. I have found that I either need to buy a looser style, or just size up one and cuff the bottoms if they are a little bit too long. We also wear a lot of dresses with biker shorts underneath that are sized up 1-2 sizes.
23 – Avoid velcro.
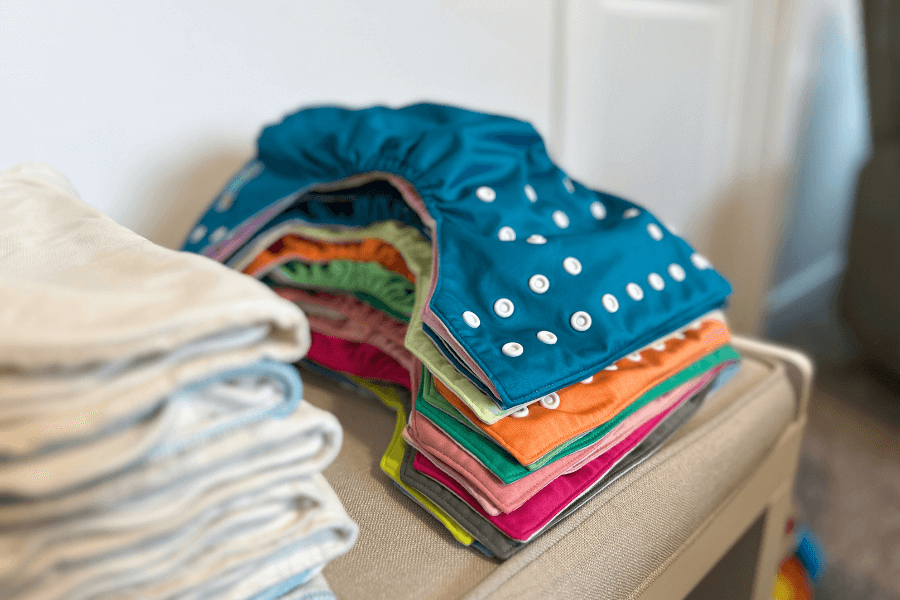
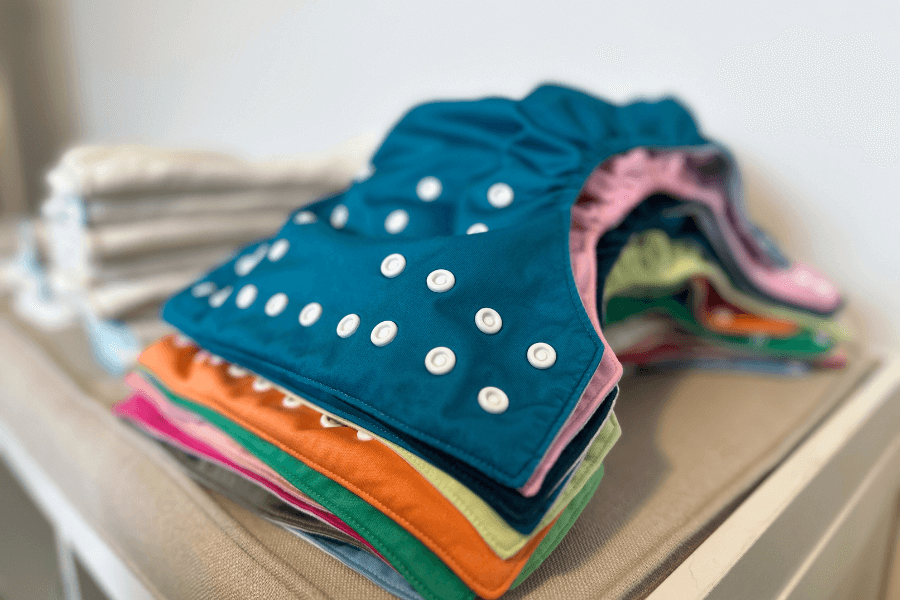
It’s not very durable. Stick to diapers with snaps instead. We have been using the same snaps on our pocket diapers and we haven’t lost a single one and they all work perfectly after 2 years.
24 – Despite what anyone says or asks, NO! Cloth diapers do NOT affect how well a baby can sit, walk, or develop.
There are lots of PTs out there who talk about this so give it a google if you’re concerned. (Plus their fluff butts looks so dang cute).
Best Cloth Diapering Tips for Rashes & Red Marks
25 – Know the difference between pink “sock marks” and painful red marks.
It is totally normal to have some pink indentation marks that spring back and disappear after a little while. If your baby has angry red marks, you need to recheck the fit of your diaper! My general rule of thumb is any spots that are still red after a nice long bath are a spot I need to see if they are getting too tight.
26 – If your baby is getting a rash, check for detergent buildup…
…that barnyard smell as soon as they get wet, or ammonia buildup – these are all signs that you have issues with your wash routine! (Wash routine is the #1 thing with cloth diapering – once you get it down you generally won’t have leaks, smells, or rashes!)
27 – Change every 2-4 hours.
2 for heavy wetters, 4 for lighter wetters. We average about every 3 hours unless she has a bowel movement and then we change right away. This is right in line with how long my daughter lasts in disposables too, so I find the length these diapers last between changes to be comparable.
YOU Choose How You Cloth Diaper
28 – Unpopular opinion but it’s ok if you use disposable wipes and cloth diapers.
Do whatever works best for you! We have been using disposable wipes with our first baby – they are super handy, really inexpensive, and convenient.
I may opt to add in cloth wipes with our second child but for now, disposable wipes work great. Just know there aren’t any rules for this – just choose what works best for you.
29 A diaper sprayer is a lifesaver for some people and worth the investment!
Personally, we haven’t needed one with liners and the occasional dunk technique in the toilet. I’ve heard too many horror stories of installations gone wrong with terrible water damage.
30 – You choose how much you’re going to cloth!
We do it when we are home but often switch to disposable for travel, classes, for babysitters, or if she has diarrhea. I’ve had friends who have only used them at night for the extra absorbency, and I’ve read lots of stories of people who never bought a disposable at all in this journey. It’s up to you!
31 – If you choose to do cloth wipes:
You can use just plain water, or water with a drop or two of your favorite baby soap (so it is heavily diluted).
32 – Many people recommend trying out many different types.
This is great advice if you have the funds to purchase a bunch of different kinds. BUT this can get pricey really quickly. I personally DIDN’T want to do this – I found a great deal for pocket diapers online so I got 50 of them. I kept out only about 26 (You really only need 26-32ish) and still have the other half of my stash for future kids.
Pocket diapers are SUPER versatile and customizable and I recommend them to anyone new to cloth diapering.
33 – Check your local buy nothing groups and Facebook marketplace.
A lot of people sell stashes that are less expensive BUT do your due diligence to ensure no detergent buildup and go ahead and do a sanitization/stripping to ensure no spread of any germs.
My favorite way to strip my diapers is right in my washer with the soaking setting and utilizing THIS product.
Multiuse Tools
34 Use your wet bags for ANYTHING wet, and as a convenient bag.
I honestly don’t use wet bags at home! (see tip #13) But wet bags are incredibly useful for when you’re on the go. They’re perfect for anything wet – swim suit, dirty diapers when you’re out and about, changes of clothes, etc.
They also make a really convenient carrying bag for diapers, wipes, and other things! For example, instead of having to restock my diaper bag with new diapers, I just use a clean and dry wet bag to hold a clean cloth diaper or two for when we are out and about. Then I can use it to carry any wet diapers home. This way I’m not having to haul my diaper bag in and out of my house all the time.
35 – Repurpose your microfiber liners for other things!
Just because they are terrible for cloth diapering doesn’t mean they aren’t useful. They’re actually great for cleaning! If you cut a slit in the top layer on one side, it actually fits pretty well on a Swiffer!
34 – Be cautious when using your cloth diapers as swim diapers.
The liners in them can become very heavy when they get wet. Unless the brand you have purchased specifically says they can be worn for swimming (like this reusable brand), and exactly how to use them, just purchase swim diapers and a waterproof cover.
It isn’t worth the risk for your child to potentially be unsafe in the water.
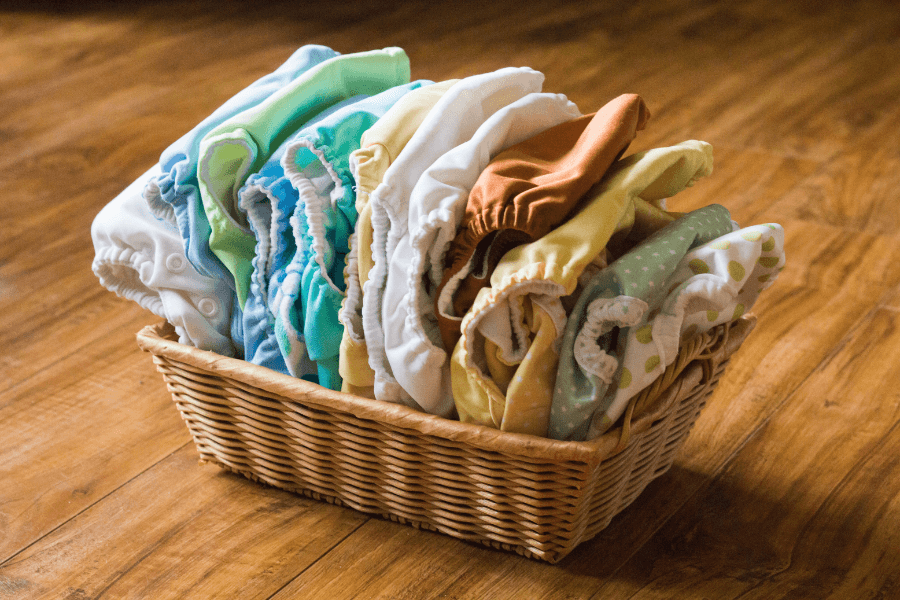
This post was all of my tried and tested advice about the best cloth diaper tips and tricks to make this process easy! It sounds like a lot at first, but I promise once you get into a routine, you’re going to love having your baby in cloth diapers!
What questions do you still have that this post didn’t answer? Comment them down below and I will answer them or create another post to make sure you feel confident to get started in the cloth diaper world!
Leave a Reply